
Shooting with a long lens can be tough. It’s like trying to thread a needle in an earthquake. Your distant subject looks pixelated and shaky in the viewfinder.
We’ve all faced this challenge. But, there’s hope. The monopod, In-Body Image Stabilization (IBIS), and Vibration Reduction (VR) can help. They make your shots stable and clear.
These tools work together like a team. Each one has its own strengths and weaknesses. Using just in-camera tech is not enough. Sometimes, you need the solid support of best camera stabiliser accessories.
This isn’t just about the gear. It’s about how to get a sharp shot when everything is moving. We’ll explore each tool’s role in making your photos stable.
When IBIS/VR Helps (and When It Doesn’t)
Image stabilization is like a hyperactive butler; incredibly helpful when you need it, but prone to rearranging the furniture when you don’t. Let’s strip away the marketing gloss. This tech isn’t magic. It’s a gyroscope and micro-motor system that tries to counteract your shaky hands. Think of it as a digital shock absorber.
It has one job: fix camera motion. It does nothing for a speeding subject. A bird in flight will always be a blur if your shutter speed is too slow. The stabilizer only cares about the box in your hands, not the world inside it.
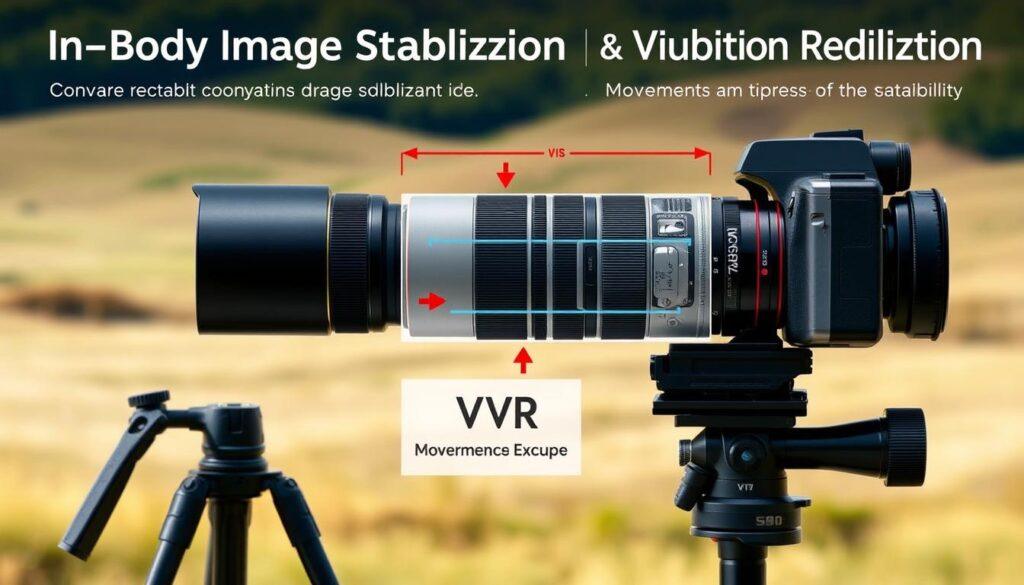
So, when is this electronic butler actually useful? The golden rule is simple. Use it when the camera is moving unpredictably. Handholding a long lens at 1/60th of a second? That’s its sweet spot. Shooting from a rocking boat or a moving car? That’s where Nikon’s Active VR mode earns its keep. It’s designed for chaotic, multi-axis movement.
Now, for the times it becomes a liability. Your solid tripod is the first red flag. Lock your camera down on a sturdy platform, and the stabilizer has nothing to do. It starts hunting for vibrations that aren’t there. This can actually induce micro-shakes, smudging fine detail. Always turn it off when tripod-mounted.
The second rule is counterintuitive. At very high shutter speeds, like 1/1000s or faster, turn it off. Why? The shutter freezes motion so completely that any tiny lag or correction from the stabilizer can slightly blur the image. You trade possible sharpness for solving a problem that’s already been solved by physics.
Modes matter. Most systems have a Normal mode for general handholding and an Active mode for unstable platforms. Using Active on solid ground can degrade image quality. It’s like using a sledgehammer to crack a nut.
| Scenario | Recommended Setting | Key Reason |
|---|---|---|
| Handheld, shutter speed below 1/250s | Stabilization ON (Normal Mode) | Counters natural hand tremor effectively. |
| Mounted on a solid, locked-down tripod | Stabilization OFF | Prevents system from hunting and creating blur. |
| Panning to track a moving subject | Stabilization OFF* | System can fight the intentional panning motion. |
| Shooting from a moving vehicle or boat | Stabilization ON (Active Mode) | Compensates for pronounced, multi-directional shake. |
| Shutter speed exceeding 1/1000s | Stabilization OFF | Eliminates risk of stabilizer-induced acuity loss. |
*Many modern systems have a dedicated panning mode. If yours does, use it. If not, shut it off. The stabilizer is designed to stop movement. When you want smooth horizontal motion, it gets confused.
The bottom line is tactical deployment. Don’t leave image stabilization on by default. That’s blind faith. Assess your platform, your shutter speed, and your intent. Your butler is talented, but it needs clear instructions. Without them, your photographic silverware might end up all out of place.
Monopod Setup and Height Tips
Think of a monopod as a third leg in a tensegrity structure with your body. It’s a key tool for photographers who need to move fast. But, it also means you have to deal with tricky physics.
First, choose a sturdy monopod that’s easy to carry. A flimsy one will wobble in the wind. You need something strong to balance your camera.
How you attach the monopod matters a lot. You can attach it directly to your lens for stability. Or, use a tilt head for more flexibility. The direct method is best for stability, but the head is better for quick angle changes.
Setting the right height is key. If it’s too high, your rig will shake. If it’s too low, you’ll get back pain. Aim for a height where your camera is at eye level when you stand straight.
To use your monopod well, you need to become a human tripod. Lean into the monopod to stabilize it. Use your foot against your shoe for extra stability. For the best stability, press the top of the pod against your forehead.
Also, control your breathing. Breathe in, pause halfway, and then press the shutter. This helps you stay steady and shoot smoothly.
| Scenario | Recommended Height | Key Technique | Stability Factor |
|---|---|---|---|
| Run & Gun / Mobility | Extended to chest height | Direct lens attachment, light forward pressure | High for speed, moderate for shake reduction |
| Static Portrait / Good Light | Eye-level, fully extended | Rigid tilt head, neutral posture | Very High (with proper technique) |
| Windy Conditions (if necessary) | Lowered by 1-2 sections | Heavy forward lean, toe-stub anchor, body bracing | Moderate to Low (use with caution) |
| Long Lens Support (e.g., Wildlife) | Tailored to lens foot height | Direct attachment, forehead brace, controlled breathing | Maximum achievable with a monopod |
Don’t just stand there. Learn these tips and your monopod becomes a part of you. It’s about finding balance and moving together with your camera and the monopod.
Panning Techniques
The difference between a keeper and a trash shot in panning often boils down to one brutal truth: you stopped your swing. This technique is where photographers are forged. Your goal is to make a tack-sharp athlete look like they’re floating in a river of streaked background. It’s the ultimate visual metaphor for focus amidst chaos.
Achieving it requires more than just following a subject. It demands you achieve a state of matched inertia.
This is where your gear choice moves from helpful to critical. Enter the gimbal head. On a monopod, this isn’t just an accessory; it’s your frictionless pivot point. It transforms a clumsy, muscle-straining endeavor into a fluid ballet. It allows you, as one source perfectly analogizes, to “aim the camera like a good artillery piece.”
You’re not fighting gravity or drag. You’re simply guiding the mass along its intended arc.
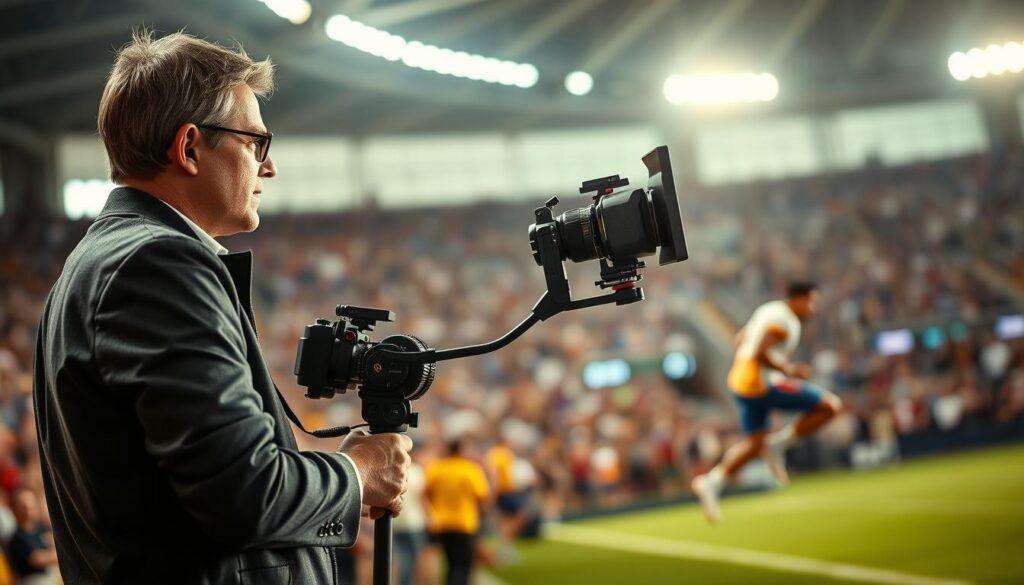
Now, what about your lens’s Vibration Reduction or Image Stabilization? The data is clear: keep it on. Modern systems are clever. When you initiate a smooth, horizontal pan, the gyros detect that constant movement. In Sport mode, the system intelligently corrects only for the vertical axis, assuming your horizontal motion is intentional.
This prevents the jittery, conflicting corrections that ruin a shot. But here’s the non-negotiable rule: you must continue your pan through the entire exposure. Mash the shutter and stop? You’ve just guaranteed a blurry mess. The follow-through isn’t a suggestion; it’s the law.
So how do you practice this? Think of the smooth, relentless sweep of a radar dish tracking a target. Your viewfinder should tell a continuous story, not a jerky slideshow. Start without firing. Follow a moving object, matching its speed until your entire upper body moves as one unit.
It’s part physics, part meditation. When it clicks, the feeling is profound. You’re not just taking a picture; you’re extracting a moment from the flow of time. This rhythmic control is the bedrock of mastering composition, allowing you to place that sharp subject perfectly within a canvas of motion.
Safe Sideline Movement
Stability is key, not just when you’re standing. It’s tested when you move. You’re always on the hunt for the perfect shot, using every move wisely.
Learn the monopod shuffle. Stand wide and firm, with a slight forward lean. This keeps your camera steady on your forehead. You can then move smoothly, following the action closely.
Anticipation is key. Move with purpose, not panic. When the game changes, adjust slowly. Sometimes, the best move is to freeze and wait. This lets you rest while keeping your focus sharp.
Stay alert to your surroundings. Avoid accidents and keep your shots clear. Rest when needed to stay sharp. The best shots often come from the least movement at the right time. Your monopod is a partner in your precise dance.