
We’ve all heard the rule: keep your ISO low. It’s a rule from the past, like a bad date. It’s part of the exposure triangle, but we’re told to avoid it.
But what if this rule is outdated? Modern cameras, like Fujifilm, have changed things. They’ve turned noise into a film-like texture that photographers love.
The real question is, “Why are we pretending we can’t raise our ISO?” Is it to impress others or to get the shot?
When the wind ruins your photo or a campfire story needs to be captured, raising ISO is key. It’s not your enemy; it’s your chance to capture a sharp, textured memory. This changes how we see noise from a problem to a tool.
ETTR and Exposure Strategy
Shooting in a moving helicopter is like painting the Mona Lisa on a rollercoaster. The world doesn’t wait for your art. Your camera’s exposure triangle—aperture, shutter speed, ISO—is a tool to use.
It’s like a high-stakes negotiation, not a simple task. Those who stick to ISO 100 are playing chess with their queen tied. Real photography happens in moving helicopters and on stormy boats.
Let’s look at some real-world examples. A photographer in a turbulent helicopter used ISO 400. Another, on a stormy boat, went up to ISO 1000. Windy sand dunes needed ISO 400, while wildflowers in the breeze were shot at ISO 500.
In each case, the goal was to increase ISO for faster shutter speeds. This choice prioritizes sharpness over a low ISO. It’s the difference between a blurry photo and one that tells a story.
The idea of Exposing to the Right (ETTR) changes this. You’re not avoiding ISO; you’re using it wisely. When you need a deep depth of field or to freeze fast action, ISO is your key.
This approach makes photography more proactive. You’re not just reacting to light. You’re shaping it to fit your vision. The exposure triangle is now about winning, not just following rules.
| Shooting Scenario | ISO Selected | Primary Challenge | Strategic Reasoning |
|---|---|---|---|
| Turbulent Helicopter | 400 | Extreme vibration and movement | Faster shutter to counteract vibration, maintain sharpness despite motion |
| Stormy Boat | 1000 | Water movement, low light, unpredictable motion | Significantly faster shutter to freeze water droplets and boat movement |
| Windy Sand Dunes | 400 | Sand movement, tripod instability | Balance between freezing blowing sand and maintaining overall sharpness |
| Windy Wildflowers | 500 | Subject movement, changing light | Fast enough to freeze flower movement while preserving detail in petals |
Notice the pattern? Each choice is a calculated compromise. Photographers aren’t chasing technical perfection alone. They’re responding to the moment’s demands. This is why sports photography settings are valuable for all.
The old rule said: “ISO bad, noise bad, always use lowest ISO.” Now, it’s about what the moment needs. Sometimes, that means a bit of grain to capture the moment.
Your camera isn’t fragile. It’s a tool for capturing reality, no matter the conditions. Smart photographers know every setting is a trade-off. They choose what preserves the story.
This isn’t about giving up technical skill. It’s about redefining what skill means in context. A sharp, slightly grainy photo of a hummingbird’s wings is better than a clean blur. Your strategy should serve your vision, not the other way around.
In-Camera vs. Software Noise Reduction
Think of noise reduction as digital alchemy. Some magicians work their spells inside the camera itself. Others prefer the limitless darkroom of post-processing software. This isn’t just a technical choice. It’s a philosophical split about where creativity happens.
On one side, you have camera engineers playing god with your pixels. Fujifilm’s approach is clever. They have a “completely different noise reduction algorithm” for their Acros film simulation. They’re not just scrubbing away digital grit.
They’re transmuting it. The algorithm creates what they describe as “undulating grain” that mimics silver halide crystals in actual film. The grain character actually changes with your ISO setting. This is noise reduction with an aesthetic mission. It’s curation, not deletion.

You get character baked right into the JPEG at the moment of capture. It’s like trusting a master chef to season your dish perfectly before it leaves the kitchen. You commit to a look. There’s a certain romance to this approach—the camera as an instrument with its own voice.
Then there’s the other camp. The software saviors. Applications like Topaz DeNoise AI function as forensic clean-up crews. They use artificial intelligence to perform what feels like surgical separation of detail from artifact. The results can be startling. As one analysis noted, such tools can “nearly obliterate” high ISO noise.
Even Adobe Lightroom’s tools have become competent enough for most social media or print needs. Capture One offers its own robust set of sliders. This path treats your RAW file as a clean slate. All the magic happens later, on your timeline, with your coffee in hand.
So which path is wiser? Let’s break down the core considerations:
- The Commitment Factor: In-camera processing is a commitment. You’re trusting the camera’s brain (designed by Fujifilm, Sony, or Canon engineers) to make artistic choices about texture and grain. Software processing preserves options. You shoot now, decide later.
- The Detail Debate: Aggressive in-camera noise reduction can sometimes smother fine details along with the noise. Software, specially AI-based tools, often does a better job at preserving eyelashes, fabric textures, and hair strands while removing chroma noise.
- Workflow Philosophy: Do you want to spend your time shooting or editing? Baking in the look saves hours at the computer. But it also removes a layer of creative control in post-production.
The question of whether to use in-camera noise reduction or isn’t about right or wrong. It’s about knowing your own process. Are you a director who likes to lock the picture on set? Or an editor who wants all the raw footage to play with in the suite?
Fujifilm’s method appeals to the photographer who sees the camera as a film stock. You choose Acros for that specific, gorgeous grain. The noise reduction is part of the emulsion’s personality. It’s an aesthetic feature, not a bug.
The software route appeals to the technical perfectionist. The one who wants every shot to have the maximum possible data. Who believes no camera engineer can anticipate the exact look they’ll want for a specific project six months from now.
Here’s the sage advice: understand both tools so you’re never at their mercy. Shoot some frames with your camera’s noise reduction turned up. Shoot the same scene with it off, in RAW. Process the RAW file with Topaz or Lightroom. Compare them side by side.
You might discover that for fast-paced event work, you love the baked-in look. It gets you to a finished image faster. For critical portrait or commercial work, you may prefer the surgical precision of post-processing. The choice becomes part of your signature.
In the end, this debate is photography’s version of nature versus nurture. Is the beauty in the original capture, or in the cultivated development? The wise photographer knows the answer is: both, depending on the day, the light, and the story you need to tell.
Color Retention and Skin Tones
Increasing ISO wasn’t just about grain. It was watching colors change in a way that looked like science fiction. Older cameras turned bright scenes into color disasters. Shadows became green, skin took on magenta casts, and everything looked like it was filtered through murky water.
This wasn’t just noise. It was a betrayal. The camera wasn’t just making things brighter; it was making things confusing. A warm blush could turn into a sickly green, and a red dress might look purple. The true emotion of the scene got lost in digital noise.
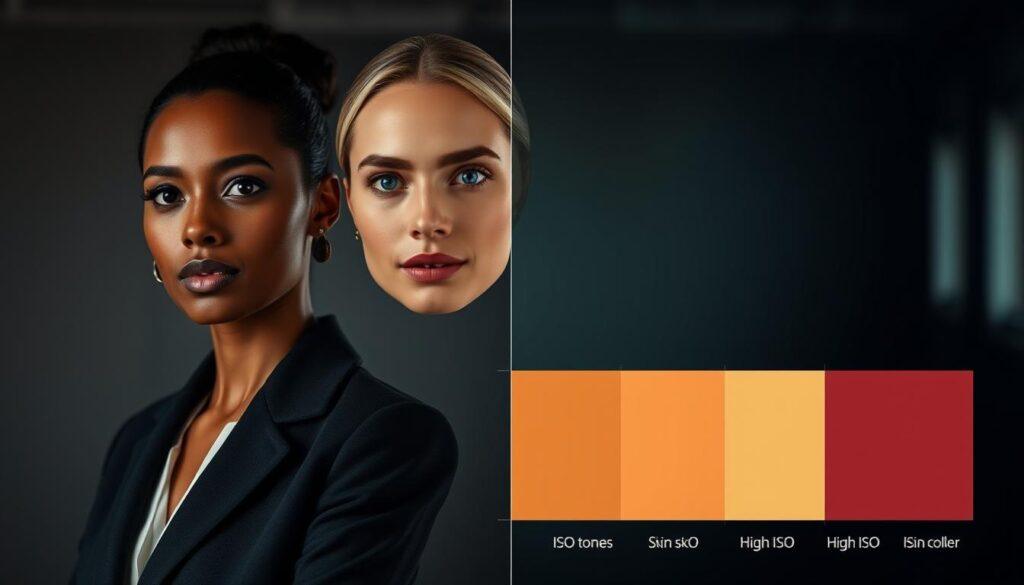
Modern sensors are the heroes of this story. New technologies like backside-illuminated (BSI) and stacked sensors are amazing. They act like bouncers, letting in good light and keeping out noise. This means that ISO 6400 today often looks cleaner than ISO 1600 did a decade ago.
Color science is key. Fujifilm, for example, treats color like a language. Their film simulation modes are more than filters; they’re emotional translations. Shooting at high ISO with a modern Fuji, you get monochromatic grain. But the colors stay true, keeping the story of skin tones alive.
Why does this matter? Skin tells a story. It shows excitement, fatigue, and the beauty of the golden hour. A camera that keeps these details at high sensitivity is not just good technically. It’s keeping humanity alive.
The practical takeaway is freeing. Don’t be afraid of high ISO for portraits or events in dim light. The question has changed from “Will the colors be awful?” to “Will the grain be pleasing?” This is a huge step forward. You might get a film-like texture, but you won’t lose the colors. The warmth and life in eyes stay. The camera now adds character with grain, not takes it away.
Sample Indoor/Gym Settings
Enough theory. Let’s get practical. You’re in a gym, a place with bad light. Fluorescents hum, shadows are dark, and athletes move fast. Your goal is to capture the action perfectly.
Start by opening your aperture to f/2.8. Set your shutter speed to 1/500th of a second or quicker. Your camera will need more light.
Use your AUTO ISO program up to 6400 or 12800. A shot at ISO 6400, 1/500 sec, f/2.8 is a win. It’s clear and sharp.
The noise? It’s okay. Use noise reduction tricks we talked about. Lightroom’s Denoise or Topaz can make it look great. For better control, try mastering gym reflections. This helps with clear images on shiny floors.
In dim light, high ISO is key. It’s what makes your photos stand out. Your last noise reduction step is just the finishing touch on a solid plan.