
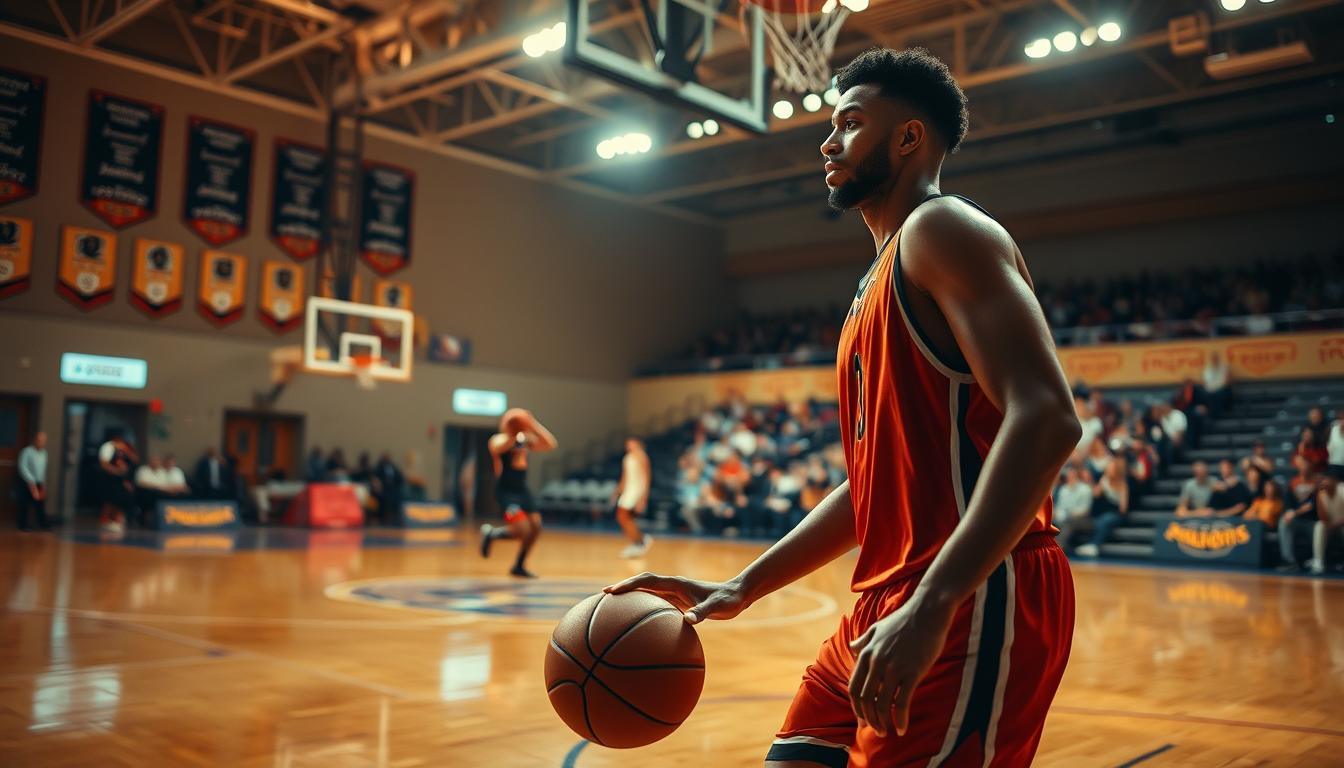
Most athletic facilities have lighting that feels like a joke. It’s not the perfect golden hour for photos. Instead, it’s the fluorescent flicker hour.
The lighting mix is a mess. Some lights give off a dying, greenish glow. Others shine a harsh blue that makes everyone look washed out. And then there’s the flicker, which makes everything look blurry.
Shadows are the biggest problem. Forget about beautiful shadows. Instead, we get “raccoon eyes” and harsh lines on faces. This makes it hard to find a clean background for photos.
For a basketball photographer, this is a nightmare. The bad lighting hides the action on the court. It turns exciting sports moments into confusing images.
Fixing this space takes more than a good camera. It needs understanding the lighting flaws. As we’ll see, solving these real problems with smart fixture design is key to great photos in tough basketball settings.
Anti-Flicker and Shutter Choices
Gym lighting does more than just light up the room. It creates a high-frequency light show that can ruin your photos. Fluorescent lights and LED panels act like strobe lights, pulsing at 60Hz. This creates a light pattern that can be captured by cameras as dark bands.
This isn’t a camera problem. It’s physics playing tricks on your photos. The lights flash 60 times per second in the US (50Hz in other places). If your camera’s shutter timing matches this, you’ll get those unwanted bars.
Using your camera’s anti-flicker mode is a good start. It helps your camera sync with the light’s pulse. This way, you can avoid those dark bands. Not all cameras have this feature, but it’s worth checking.
When you can’t use anti-flicker mode, you need to be a timing expert. For 60Hz systems, safe shutter speeds are 1/60, 1/120, 1/240, and so on. These speeds match the light cycle perfectly. But, you also get to decide how to show motion.
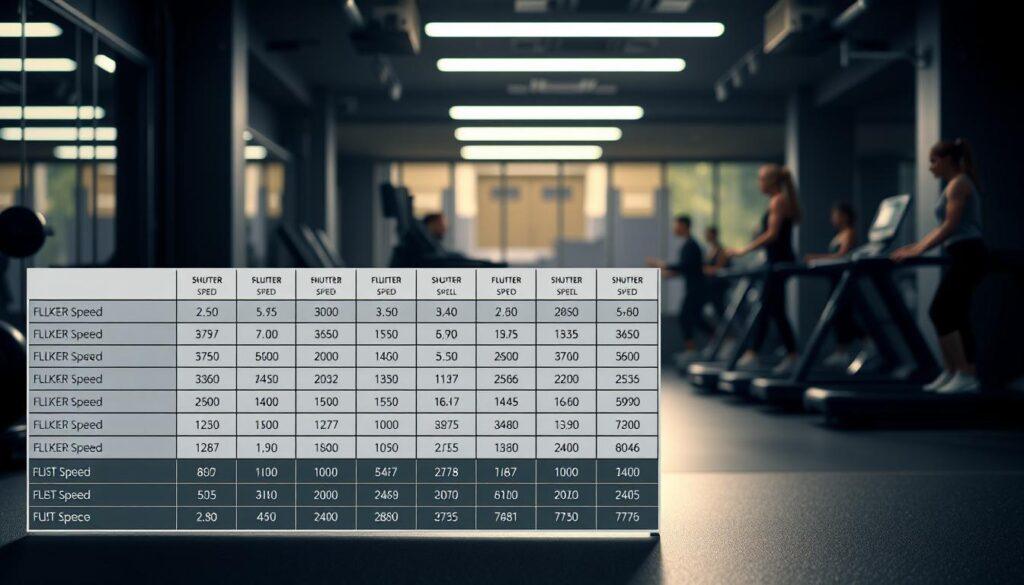
Choosing the right shutter speed is like playing a game. A slower speed, like 1/60s, adds motion blur to your shots. A faster speed, like 1/500s, freezes action. Each choice has its own trade-offs.
| Shutter Speed | Flicker Risk | Best For | Trade-off |
|---|---|---|---|
| 1/60s | Very Low | Panning shots, artistic motion blur | May not freeze fast action |
| 1/120s | Low | General action, basketball dribbling | Balance between freeze and light |
| 1/240s | Low | Fast breaks, tennis serves | Requires higher ISO in dim gyms |
| 1/500s+ | Higher Risk | Freezing peak action, mid-air shots | May need anti-flicker mode or testing |
As you try to capture faster action, you move away from safe speeds. At 1/500s, you’re no longer perfectly in sync. Testing your shots during warm-ups is key to avoiding bands.
By understanding how to reduce flicker, you can improve your photos. It’s not just about the gear. It’s about knowing the rhythm of the light.
Even with perfect timing, your camera might shake a bit in low light. That’s where the electronic front-curtain shutter (EFCS) comes in. It’s a feature in many cameras that reduces camera shake.
EFCS is like removing one hand from a loud clap. It helps you get sharper photos in dim gyms. Pair it with your timing strategy for the best results.
Choosing the right shutter speed is all about the moment. A basketball shot might need 1/500s to freeze it. But a swimmer’s turn might look better with 1/120s’s blur. Your choice tells the story.
These techniques are used every day by sports photographers. They capture crisp action shots in amateur leagues. The principles work everywhere, from Texas high schools to community centers.
So, next time you’re in a gym, listen to its electrical rhythm. Sync your shutter with it. Choose your speed based on the story you want to tell. This way, you turn a technical challenge into a creative advantage.
Prime vs. Zoom Indoors
Walking into a dimly lit gym with a camera feels like a secret mission. Your lens choice is your main tool. It’s not just about the gear; it’s about strategy.
The fast prime lens is like a noble warrior. It eats light like a black hole. This lets you keep your ISO low, capturing volleyball players in mid-air with sharp details.
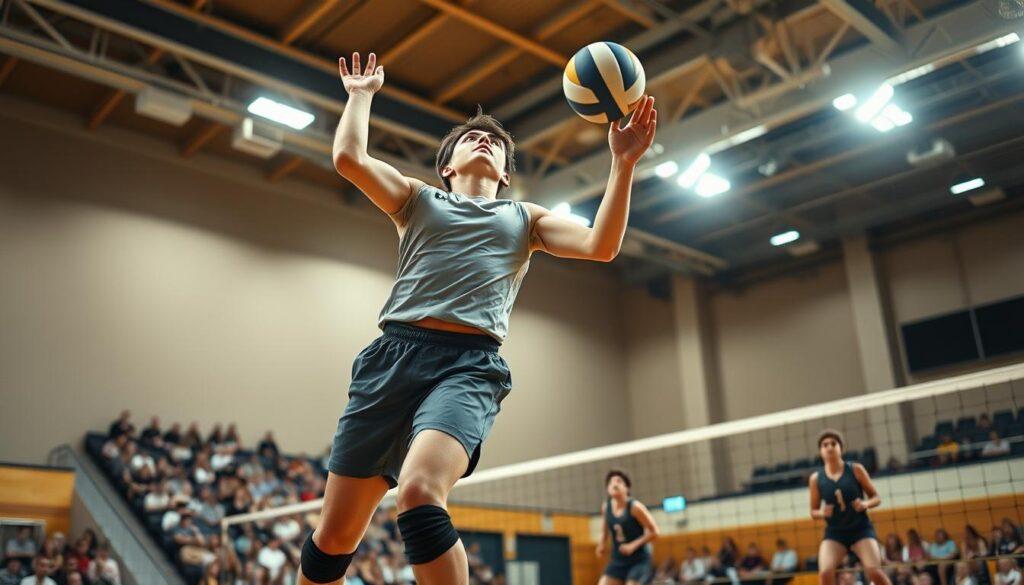
This lens creates a beautiful blur around your subject. But, you must move to frame your shot. This teaches you to think carefully about your composition.
The zoom lens is more practical. It lets you capture the whole volleyball court or zoom in on a player’s face. This is great when you can’t move fast.
But, zooms have a smaller aperture. This means you might need to use a higher ISO in low light. This can introduce digital noise into your photos.
So, how do you decide? It’s like choosing between two investments. What’s most important to you?
| Scenario | Prime Lens Advantage | Zoom Lens Advantage |
|---|---|---|
| Shooting a single volleyball player in isolation | Superior low-light performance with wider aperture for cleaner images | Limited; requires physical movement to frame properly |
| Covering an entire volleyball match from the sidelines | Challenging; constant lens changes or missed shots | Compositional flexibility without changing position |
| Mixed lighting (bright court + dim corners) | Excels in dim areas but struggles with variable framing | Can adapt framing but may struggle with noise in dark zones |
The prime lens is all about capturing every photon. The zoom lens offers more freedom in your shots.
For more on this debate, see our guide on prime versus zoom lenses. It’s like choosing between simplicity and versatility.
In a gym with changing light, your choice affects your whole strategy. The prime lens offers clarity. The zoom lens offers flexibility. Your goal decides which lens you need.
So, when packing for a volleyball tournament, think about your role. Are you precise or adaptable? Your answer will guide your lens choice.
Sample Settings and Case Studies from Local Gyms
Theory is for cafes. The gym floor is for practice. Let’s apply our intellectual artillery to sweat-stained reality.
Think about a high school basketball game. The overhead lights cast deep shadows. Your task: freeze fast breaks without banding. Strategy? Use shutter priority at 1/500s. A 70-200mm f/2.8 zoom from the baseline works well. This is real Indoor Gym Settings problem-solving.
A collegiate volleyball practice has its own challenges. The lighting is dim but steady. An 85mm f/1.8 prime lens gathers light well. Position yourself for a plain wall background. Manual mode settings are f/1.8, 1/320s, ISO 3200. A monopod helps, but turn off image stabilization.
The CrossFit box is full of beauty and chaos. You have mixed lighting from windows, LEDs, and maybe a sad neon sign. Use window light as your main source, treating it like direct sun. Artificial lights add color in the background. Knowing the space, like in top gym design examples, helps your shot composition.
These aren’t just camera settings. They’re battle plans for conquering unpredictable Indoor Gym Settings. We turn gym photography’s messy reality into artistic equations.