
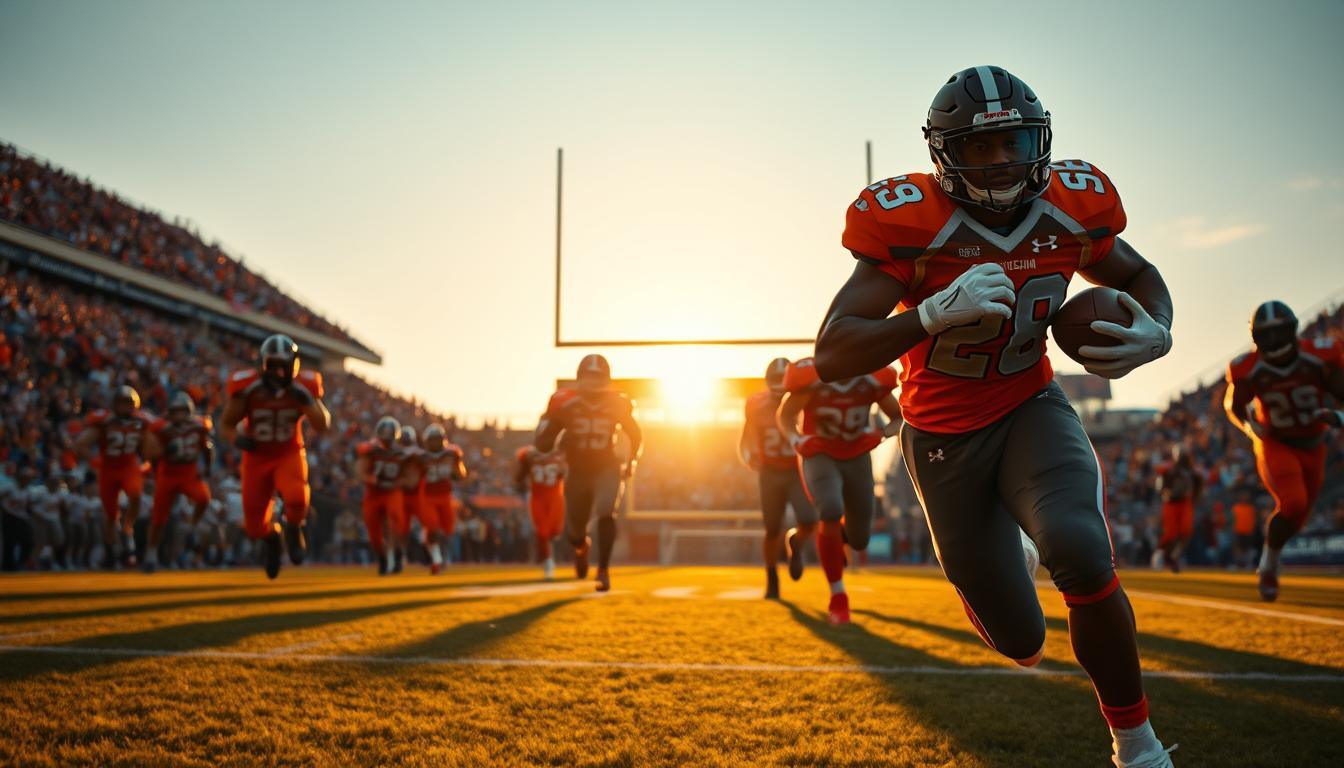
Welcome to the world of football photography! Football is more than a game; it’s a thrilling spectacle. It’s filled with intense moments that need your focus. Whether you’re capturing youth league games or professional matches, knowing the game is key to great photos.
NFL Network photographer Jeff Lewis says to anticipate plays to get the best shot. This tip is essential for improving your sports photography. With the right camera and lens, you can take amazing photos that tell a story.
Mastering the exposure triangle is also important. Use shutter speeds of at least 1/1000th of a second to freeze action. Wide apertures and good ISO settings help with different lighting. The challenge is big, but the rewards are worth it.
In this guide, we’ll cover essential gear, camera settings, and advanced techniques. Whether you’re on an NFL sideline or taking photos of youth football, the basics of photography apply. Let’s start this journey to become a skilled photographer of the game!
Safety and Sideline Positioning
It’s key to know the risks of taking photos on the sidelines. Football is fast and can be violent. Photographers need to be careful to avoid danger. Jeff Lewis says it’s important to stay at least six feet back from the field.
A story from experienced sports photographers warns of the dangers. A colleague was hurt while taking photos. A player was pushed towards him, and his camera and monopod flew off. He got cuts and a broken leg.
To stay safe, photographers should:
- Constantly move with the play: Anticipate where the action will be and adjust your position.
- Relocate to the end zone: This is key when expecting a deep pass or touchdown catch.
- Maintain spatial awareness: Always know your position relative to the field, players, and other photographers.
Shooting from a low angle is also a good idea. This makes players look bigger and adds drama to your tackle football photos. It also brings in the crowd and stadium atmosphere, making your photos more engaging.
In short, safety and smart positioning are critical when taking football photos. By being mindful of your surroundings and adjusting to the game’s flow, you can take amazing photos while staying safe.
Dealing with Helmets and Shadows
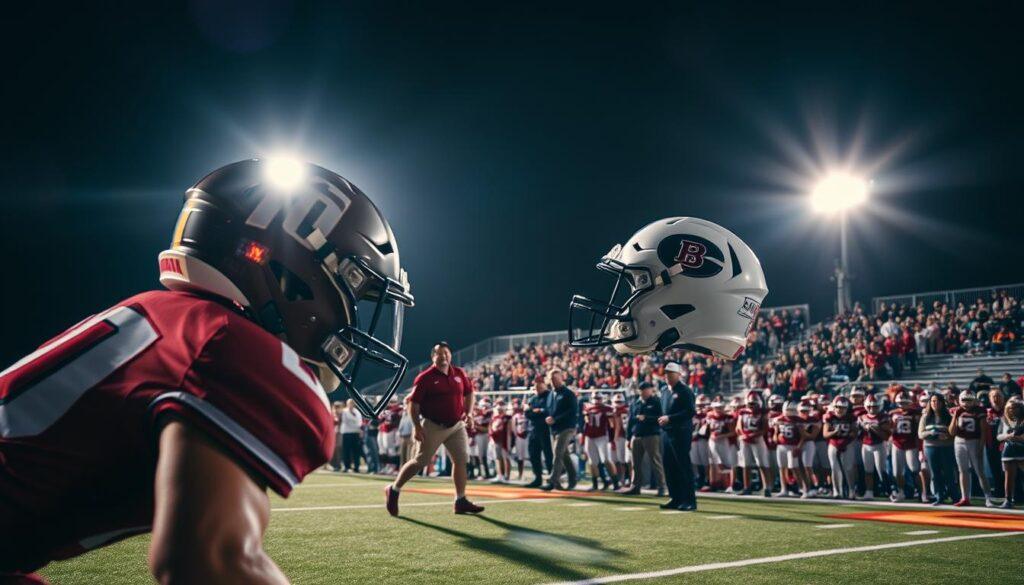
Photographing football under Friday night lights is tough because of helmets and shadows. Helmets hide players’ eyes and faces, which are key for great photos. The night lighting makes it even harder, with harsh shadows and uneven light.
Photographers face another challenge during afternoon games. The sun’s strong light creates scenes with bright and dark areas. Jeff Lewis suggests using Aperture Priority mode at f/4. This helps capture facial details and separate subjects.
As the sun goes down, switch to Shutter Priority. Use settings between 1/1250th and 1/1600th of a second to freeze motion. The camera will adjust the aperture for clear images in low light.
In indoor or dome stadiums, knowing flash sync speed is key. Use flash wisely from off-center angles to fill shadows. Remember, flash is okay during key moments like free throws.
When players’ eyes are hidden, focus on their numbers. Use continuous autofocus to keep images sharp. Also, Lightroom’s post-processing tips can improve your photos by bringing out shadow details.
Capturing the Line of Scrimmage vs. Open Field
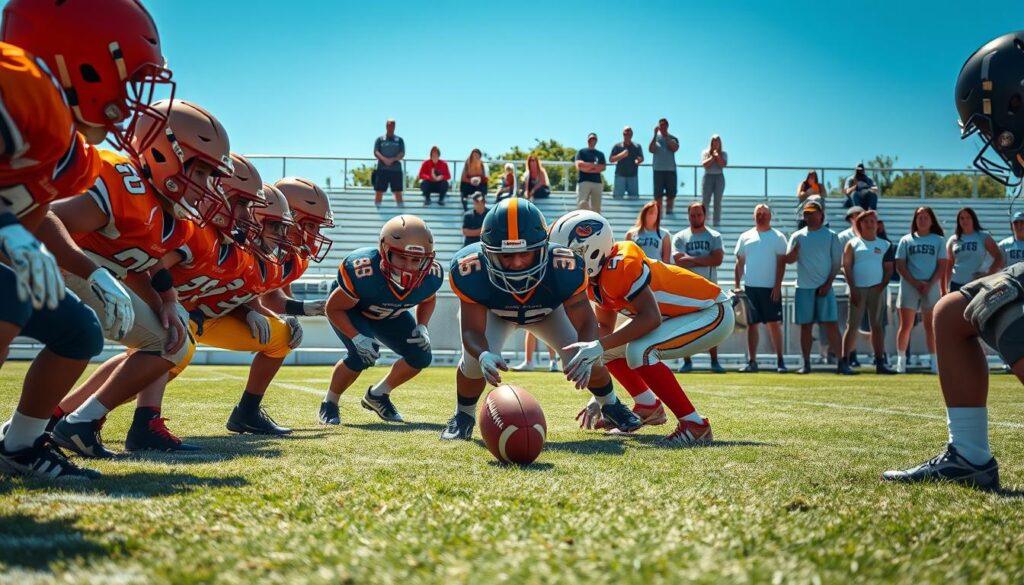
To take great youth football pictures, you need to understand the challenges of the line of scrimmage and open field plays. The line of scrimmage is where players are very close together. Here, offensive and defensive linemen clash in a small area. This is different from open-field plays, where players run freely.
Jeff Lewis suggests using a 300mm f/2.8 or 400mm f/2.8 lens for action in the middle. It’s also smart to have a second camera ready with a 70-200mm f/2.8 or 24-70mm lens for sideline action. Football plays are fast, lasting about five seconds. So, using burst mode and AI Servo continuous focus is key for following the action.
Being able to anticipate what will happen is the photographer’s best tool. Knowing a team’s play style helps you set up and choose the right lens before the game starts. For youth football pictures, the slower pace makes timing harder. You need to adjust your timing to match the game’s rhythm.
| Technique | Line of Scrimmage | Open Field |
|---|---|---|
| Lens Recommendation | 300mm or 400mm f/2.8 | 70-200mm or 24-70mm |
| Focus Mode | AI Servo Continuous Focus | AI Servo Continuous Focus |
| Play Duration | Approximately 5 seconds | Approximately 5 seconds |
| Anticipation Strategy | Position before the snap | Track fast-moving players |
By learning these techniques, you can capture the essence of youth football. Each play is a special moment waiting to be captured. For more photography tips, check out this guide on camera settings.
Cheerleading and Band Inclusion
Capturing the spirit of game day is more than just the field action. Cheerleaders and bands add to the excitement. They are key subjects for photographers.
Jeff Lewis suggests using downtime to shoot the crowd, cheerleaders, and wide shots of the field. The game is filled with tradition and human reactions. Marching bands at halftime and cheerleaders during timeouts offer great photo chances.
To get these shots, follow these tips:
- Utilize Downtime: Focus on cheerleaders during timeouts and halftime.
- Change Your Perspective: Try shooting from bleachers or elevated spots for a wider view.
- Use Wider Focal Lengths: A 24-70mm lens works well for sideline shots of cheerleaders.
- Adjust Exposure Settings: Bright band uniforms might need camera setting tweaks.
These photos tell a story, not just fill space. They show the game’s true spirit. Remember to be respectful when taking photos of minors at high school games.
Adding these elements to your photos will make your portfolio richer. It tells the full story of tackle football. The fans’ emotions, the band’s energy, and cheerleading traditions all add to the game’s experience.
For more sports photography tips, check out this resource.
| Element | Photography Tips | Best Time to Capture |
|---|---|---|
| Cheerleaders | Use wider focal lengths | Timeouts, Halftime |
| Marching Bands | Adjust exposure settings | Halftime |
| Fans | Focus on emotional reactions | During key moments |
Creating Impactful Senior Banners
Senior night is a key moment in the football season. It honors athletes and their families for their hard work. Photography makes this event even more special for everyone.
To make amazing banners, start with planning and execution. Work with coaches and families to pick the best times for photos. Find places where the Friday night lights add drama to your photos.
The golden hour, just after sunrise or before sunset, is the best time for photos. It gives the most flattering light for portraits.
When taking photos during the ceremony, focus on capturing each athlete’s spirit. Use lower ISOs for clear details in large prints. Make sure the player and their family are sharp by choosing the right aperture.
Post-processing is where the magic really happens. Use Adobe Lightroom or Photoshop to improve exposure and color. Aim for images that families will love and schools will be proud to show. By blending technical skills with storytelling, photographers create lasting tributes to senior athletes.