
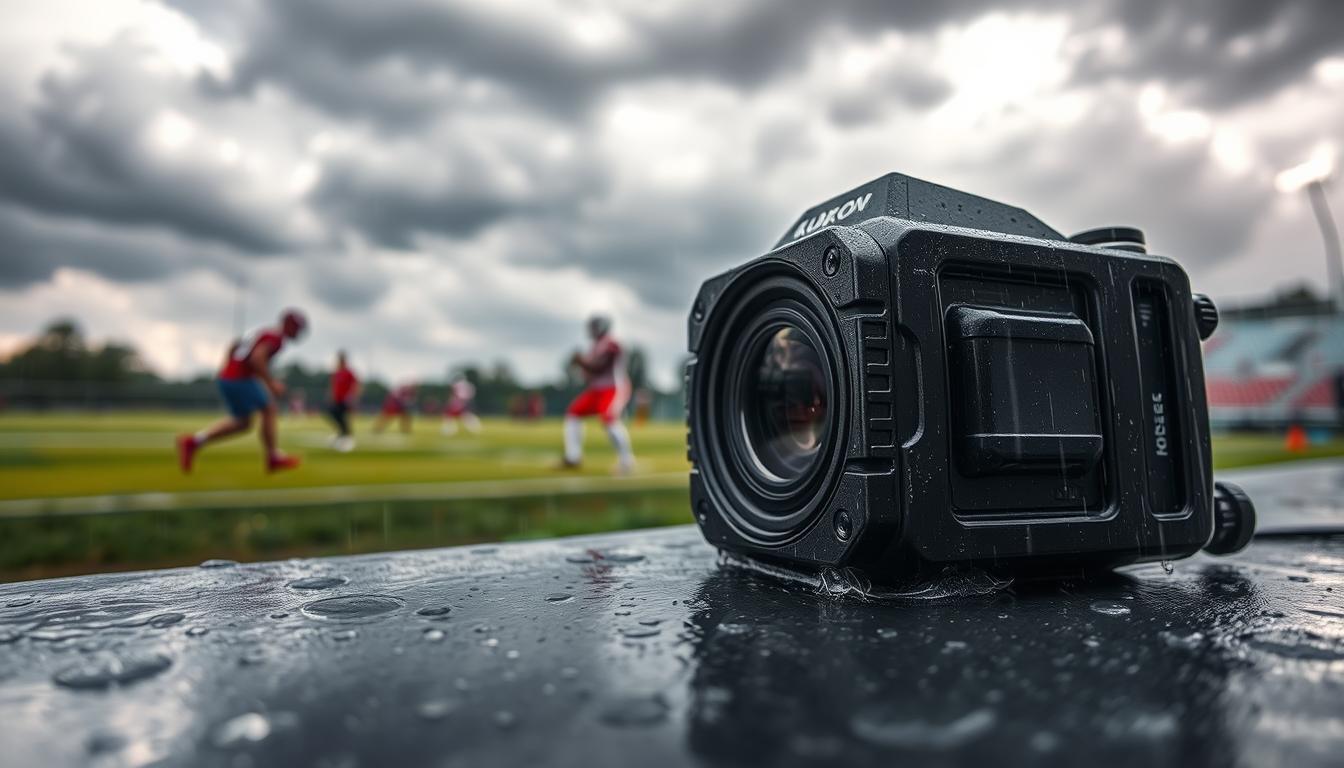
The sidelines are often empty when it rains. Fans who don’t like getting wet stay home. Photographers face a similar problem.
They leave when the sky gets dark. But rain adds drama and unique light to photos. The real challenge is being ready to take pictures, no matter the weather.
What does weather sealing really mean? It’s not a promise of complete protection. Even pros worry about their cameras in heavy rain. It’s more about being cautious than guaranteed safe.
You need to plan based on the weather forecast. Showing up without the right gear is a mistake. The best camera settings won’t help if your camera gets wet.
Reading the Forecast and Prep Checklist
A darkening sky means it’s time to protect your camera. Your weather app shows a storm coming. It’s time to get ready.
At the heart of this defense is the rain cover. There are many options, from expensive to very affordable. Let’s look at them closely.
- The High-End Option: These covers are top-notch, but pricey. They’re made for professionals and keep your gear dry.
- The Mid-Range Workhorse: These covers are reliable and affordable. They’re like the Toyota Camry of camera protection.
- The DIY Hero: Use items like plastic bags and rubber bands. They’re not fancy but work well.
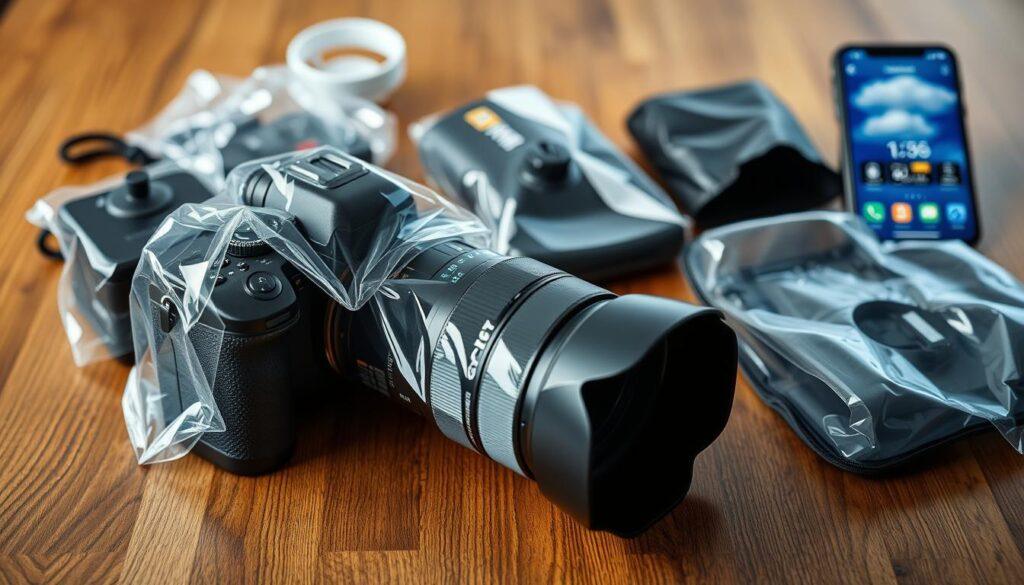
Before using a cover, remember the lens hood. It’s like a hat for your lens. It keeps rain off.
Now, let’s talk about creative solutions. Using an umbrella on your tripod is a clever idea. It keeps your area dry.
This reminds us to think ahead. Just like preparing your home for storms, prepare your camera gear. A bulletproof home and a bulletproof camera setup are both about being ready.
So, how much do you trust a label? A rain cover promises to keep your gear dry. But, a plastic bag can also do the job. Your checklist should have both.
Acceptance is the last step. The forecast is just a guide. Be ready for anything. Pack extra covers and cleaning supplies. This way, you’re always prepared.
Towel/Glove Workflow on Sidelines
During a downpour shoot, my most valuable item wasn’t my camera—it was a microfiber towel. I was on the sideline of a college rivalry game, where the rain was falling sideways. My very expensive prime lens was safe in my bag. The hero of the day was a simple, twelve-dollar cloth. This moment showed me the importance of a towel and glove system on the sidelines.
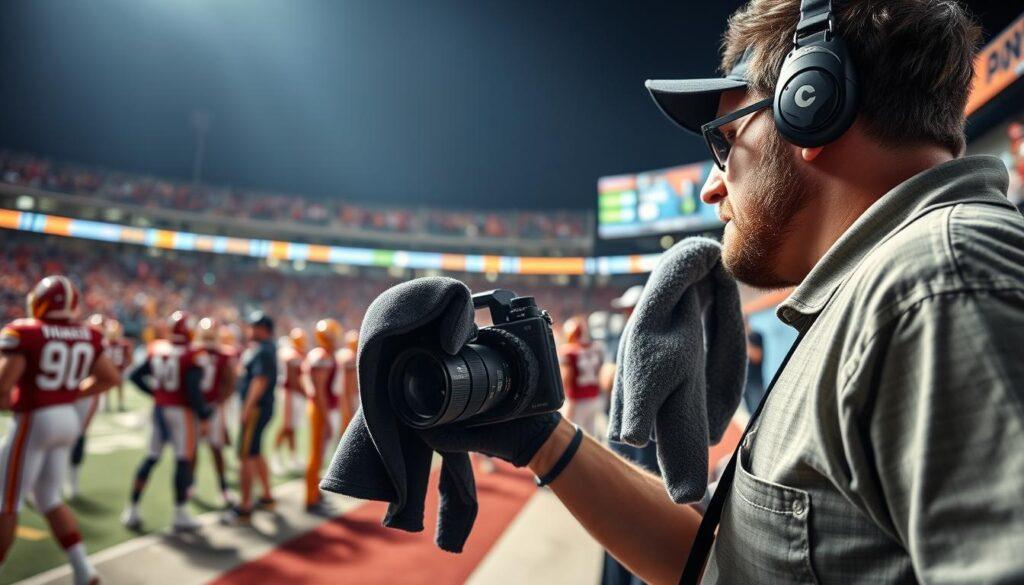
This isn’t just about having a towel. It’s about having a protocol. Think of it like an NFL coach’s two-minute drill. Every move must be deliberate, with each piece of kit having a specific role. Let’s break down the playbook — the kind of structured, situational thinking often seen in detailed game analysis at NBA Playbook.
The key is the dry-hand/wet-hand technique. Designate one hand as “dry” for settings and lens changes. It should be gloved, ideally in a thin, insulated glove. The other hand is for wet tasks, like handling the rain-slicked body and swapping memory cards.
When changing a lens, follow this drill. The dry hand pops the lens release and holds the new lens ready. The wet hand removes the old lens, caps it, and stows it. Then, the dry hand mounts the new lens. This keeps the camera body dry.
Your towels are your defense. You need more than one, and they should be placed strategically.
- Primary Wipe: A large, folded cloth in an easily accessible pocket or clip. This is for constant, quick lens wipes.
- The Mop: A second, bulkier cloth in your bag for drying your hands, the camera grip, and any major water incursions.
- The Sacrificial Lamb: A small cloth you don’t mind getting filthy, placed on the ground or a wet bench to create a temporary dry zone for your bag.
Getting low to protect from wet surfaces is important. You’ll often kneel or sit for a low-angle shot. Having a barrier between your gear bag and the soaked turf is critical. That cloth becomes your instant dry dock.
Insulated gloves are essential, not just for comfort. Cold fingers lose fine motor control. Thin, thermal gloves keep your “dry” hand operational, allowing you to adjust settings without difficulty.
Keeping extra batteries warm is also key. Cold kills battery life faster than a blitzing linebacker. Keep spares close to your body. An inner jacket pocket is your battery’s life support system. Your body heat keeps them ready to swap in when needed.
The final analysis is that the sideline in a storm tests your operational efficiency. Your camera is a tool, but you are the system. The towel and glove workflow turns you from a passive observer into an active commander. You’re not just shooting the game; you’re running a mini-logistics operation against the weather, and your preparedness is the winning strategy.
Post-Game Drying and Care
The final whistle is a starting gun for your most critical play. Packing wet gear is like celebrating a touchdown before the replay review. You might get away with it, but the odds are not in your favor.
Dry your camera immediately. Water loves a covert op, seeping into places it shouldn’t be. Start with a gentle, thorough wipe-down. Every button, dial, and crevice gets a pass.
Now, the real work begins. Your gear needs a proper debrief. If it’s significantly wet, find a warm, dry space. Let it sit for a full 24 hours. A warm space is not on top of a radiator. Heat warps seals and invites new problems.
This is where strategy matters. Is your camera bag a humidor or a hospice? To ensure it’s the former, introduce a desiccant. Silica gel is the unsung hero of camera care. Seal your gear with a few packs in a container or bag. The desiccant pulls moisture from the air, creating a safe microclimate.
This post-game ritual isn’t just maintenance. It’s a forensic analysis of your battle against the elements. It’s an investment. Proper care today secures your next game-day victory, rain or shine.