
Forget team spirit. Think trademark law. Your franchise’s colors are not just a palette; they’re worth millions. When the Lakers’ purple looks like lilac on screen, it’s not a filter fail. It’s your brand equity bleeding out in real-time.
This isn’t a photography lesson. It’s a crash course in protecting your visual empire. The culprit? Often, it’s your stadium lights. Subpar lighting with weak color rendering doesn’t just wash out jerseys. It creates a domino effect of failure.
Athletes under inconsistent light face slower reaction times. Ultra-HD broadcasts become unwatchable color nightmares. And yes, your venue could get sidelined for international events. It’s the stark difference between a major league spectacle and a dimly lit amateur hour.
The fix starts with understanding that white balance is your most powerful creative for control. It’s the linchpin holding uniforms, sponsors, and legacy together in the exact right shade. Get it wrong, and you’re not just missing a shot. You’re missing the point entirely.
Auto vs. Kelvin vs. Custom WB
In sports photography, your white balance dial has three main options: Auto, Kelvin, and Custom. Each has its own strengths. It’s about choosing the right tool for the lighting conditions you face.
Let’s explore each option. Think of it as studying the playbook of light.
Auto White Balance: The Rookie Free Agent
Auto WB is easy and quick. It’s like a rookie who shows promise but makes mistakes under pressure. Your camera tries to guess the light. Sometimes it gets it right, but often it doesn’t, like in a gym or under old stadium lights.
This can turn bright colors into dull ones. Blues might look greenish. For a single photo, it might work. But for a whole gallery, it’s risky. This analysis of auto white balance shows it’s not always reliable.
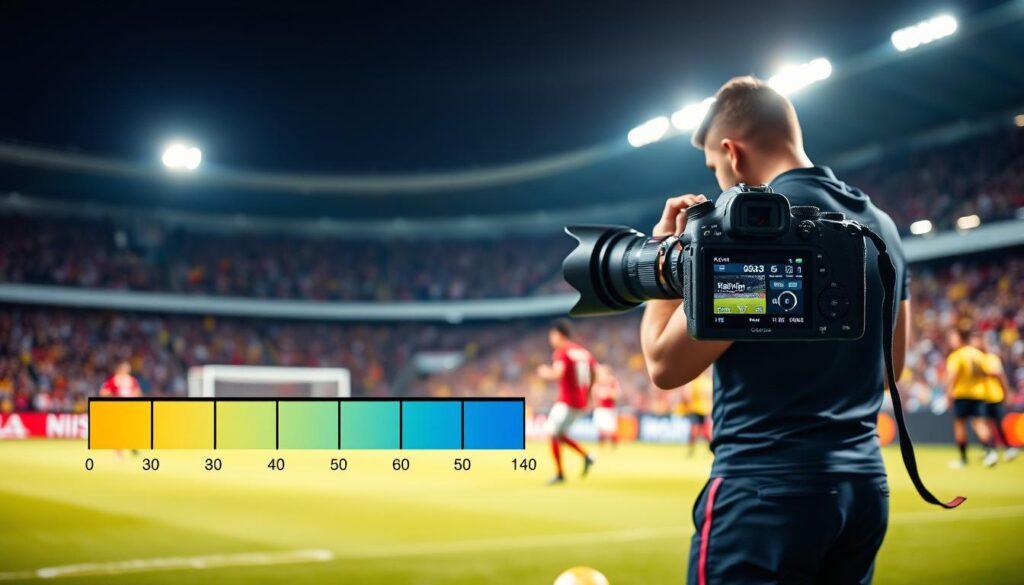
Manual control is where you take charge. The Kelvin setting uses light physics. You set it to 3200K for arena lights or 5600K for outdoor sun.
This gives you power but also a big responsibility. You must understand the light well. A small mistake in Kelvin can change everything. You need to keep the temperature stable within ±200K for consistent colors. But, when the light changes, your settings won’t match.
Custom White Balance: The Coach’s Game Plan
Custom WB is the ultimate strategy. You use a gray or white card in the light to set your camera’s white balance. This way, you define what “white” looks like in that specific light.
This method ensures colors are right in-camera. It avoids color changes later in editing. It’s the best way to handle mixed lighting and keep colors consistent.
So, which one do you choose? It depends on your shooting conditions.
| Method | When It Shines | Potential Fumble |
|---|---|---|
| Auto WB | Fast-paced, changing light; casual shooting where color fidelity isn’t critical. | Unpredictable color shifts; destroys brand color consistency. |
| Kelvin | Controlled, stable lighting (indoor arenas, consistent studio setups). | Fails dramatically when light quality changes; requires technical knowledge. |
| Custom WB | Mixed or difficult lighting (gymnasiums, sunset games); mandatory for team gallery consistency. | Requires extra gear (gray card) and setup time before shooting. |
Use Auto for quick shots. Switch to Kelvin for artificial light. But for real-world sports, Custom WB is best. It’s the extra prep that saves hours of editing and keeps colors true.
Handling Mixed Light (Gym/Sunset)
Mixed lighting is tough for your camera’s auto white balance. Imagine a high school gym with green mercury vapor lamps and cool blue LED exit signs. Or a football game where one side is bathed in golden hour, while the other is dark.
For community sports, school leagues, and local tournaments, mixed lighting is the norm. Your preset Kelvin value won’t work twenty feet away. That custom white balance you set? It’s outdated before the next play.
So, what do you do when perfection isn’t possible? Aim for coherence. Your role shifts from color scientist to visual storyteller.
The Dominant Light Doctrine
First, find the main light source. Is it the setting sun or the stadium floods? Choose this light as your Kelvin anchor. Set your white balance for that light, and let the others vary.
This approach creates a clear visual hierarchy. The warm sunset becomes your focus. The cooler shadows add atmosphere, not color errors. You can’t fix every light, but you can control the story.

Auto WB as Your Scout, Not Your General
In chaos, use auto WB for a test shot. See what the camera suggests as a baseline. Then adjust manually. It’s like reconnaissance, not delegation.
This is great when mixed lighting changes fast—like clouds moving across a sunset. The auto reading gives you a target to track, not a solution to trust.
The Raw+JPEG Safety Net
For “margin cases” like mixed stadium lighting or dramatic sunset games, shoot Raw+JPEG. The JPEG gives you a usable file. The Raw file is your backup, holding all color data for later correction.
This dual-format approach is your advantage. It lets you be bold in the moment while keeping options for editing.
Expose for the Story, Not the Spec Sheet
Think like a war photographer: protect the highlights. Those white helmets, jerseys, and soccer balls are your visual anchors. If they blow out, you’ve lost detail and color reference points.
Accept that shadows will be dark. Deep sideline shadows during a sunset game aren’t flaws—they’re drama. Your exposure should save the highlights and let shadows tell their story.
This is where poor color rendering creates real problems. Visual ambiguity in complex environments affects athlete perception. Your consistent color treatment helps maintain clarity amid chaos.
Practical Checklist for Mixed Light Mayhem
- Shoot Raw+JPEG for maximum flexibility
- Set white balance for the dominant light source, not an average
- Use auto WB readings as intelligence, not instructions
- Expose to protect highlights—white uniforms are non-negotiable
- Embrace shadow drama as atmospheric, not erroneous
- Batch edit by dominant light type, not by individual photo
The goal isn’t laboratory accuracy. It’s emotional authenticity. A sunset game should feel warm and dramatic. A gym match should have that specific, nostalgic glow. When you see color temperatures as tools for storytelling, not just technical corrections, you transform chaos into art.
Remember: in mixed lighting, you’re not fixing problems. You’re making choices. Choose the light that tells your story best, and let the rest become part of the scene’s character.
Batch Consistency Tips for Team Galleries
The final whistle blows. You’re left with a thousand frames from four quarters of shifting light. Your real job begins: crafting one seamless story from the chaos. It’s not about individual masterpieces. It’s about building a visual narrative where the first half looks like it belongs in the same universe as the fourth quarter.
Enter the militant JPEG workflow. Think of yourself as a film editor, not a pixel-peeper. Cull ruthlessly for the story’s beats. Your editing becomes a light-touch rhythm—a global exposure tweak to harmonize the set, a subtle crop, a gentle clarity brush on the turf. The philosophy is simple. Get it right in-camera. This discipline minimizes post-production, speeds up gallery delivery to parents, and simplifies your storage and backup strategy. A game can be shot, edited, and delivered in hours, not days.
This is where batch editing in Lightroom becomes your secret weapon. Apply the white balance and exposure correction from one hero image to the entire series. Use selective syncing to adjust only the tonal curve or clarity across hundreds of shots without recalculating complex masks. Lightroom’s AI masking intelligently adapts your edits as subjects move, maintaining consistency from a portrait to a full-team huddle. It’s the efficiency hack that preserves your sanity.
The ultimate goal is brand identity. Every image in the team gallery must whisper the same visual language. Consistent color tones and contrast create a cohesive look that reinforces the team’s legacy. For the league, it’s a professional archive. For parents, it’s a flawless story of the season. Your batch consistency doesn’t just save time. It builds the visual foundation of a team’s story, one perfectly synced edit at a time.