
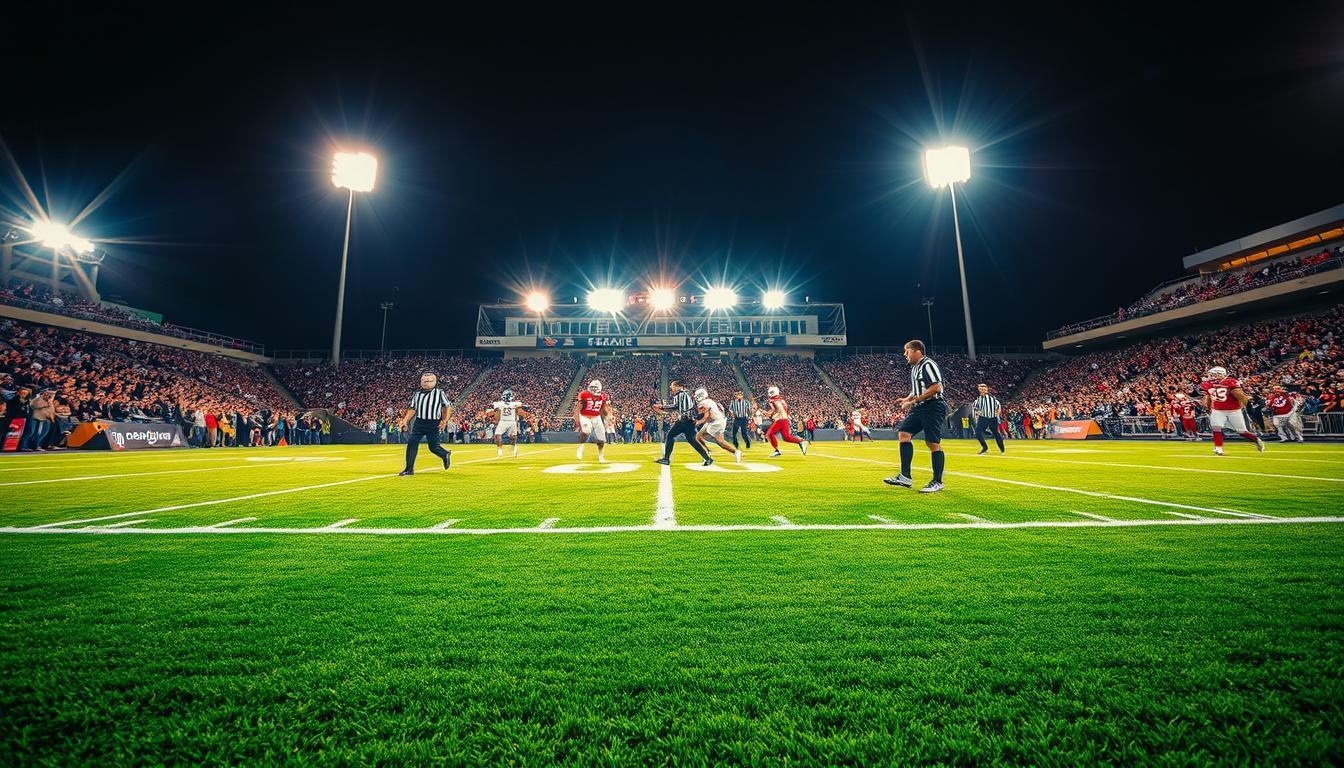
Your camera’s light meter lies under the stadium lights. It thinks the bright Friday night is like a well-lit office. But you see a dark drama, even with 30 footcandles of light.
This isn’t a sunny day game. It’s a technical challenge. You’re trying to capture clear images in a world of contrast.
First, understand the scene. Most high school fields have four or six light poles. Four poles create deep shadows, like a film-noir scene. Six poles offer a bit more light, but it’s not enough.
The key strategy is to aim for the highlights. Expose for the bright jersey numbers and skin tones. Let the shadows stay dark, like a neon sign in a dark alley. It’s a tough choice.
You’ll be balancing on a thin line. Use a fast shutter speed to freeze action (1/250th of a second). Open your aperture wide to f/2.8. And choose a high ISO to capture the scene. This exposure mix is essential, needing the right best camera gear for night photography to succeed.
AF Reliability in Low Light
The phase-detect array in your camera works well in daylight but struggles in the dim light of a night football game. It’s unsure if a blurry shape is a player or just a trick of the light. This isn’t just a technical issue—it’s a crisis for your camera’s identity.
Using your shutter button for both focusing and shooting during Night Games is like asking a quarterback to play both positions. Something gets left out, and it’s usually the sharp focus. The answer isn’t more megapixels or faster lenses. It’s a simple change that feels like a cheat code.
Enter back-button focus, the photography version of separating church and state. Assign focusing to a thumb button, like AF-ON or an asterisk. Use AI Servo (Canon) or AF-C (Nikon/Sony) drive mode. Your thumb focuses while your index finger fires the shutter at the right moment.
This setup does more than improve your shot rate. It lets you make better compositions. You can keep focus on a player while changing your shot, or pause AF without changing modes. In the chaos of a night football game, this control is priceless.
| AF Technique | How It Works | Best For Night Games | Potential Pitfall |
|---|---|---|---|
| Back-Button + AI Servo/AF-C | Separates focus (thumb button) from shutter release (index finger) for continuous tracking | Following a single player through traffic; maintaining focus during play development | Steep learning curve; requires thumb dexterity |
| Single AF (AF-S/One Shot) | Focus locks when shutter is half-pressed; must re-acquire for each shot | Static moments like timeouts, celebrations, or posed shots | Misses dynamic action; constant refocusing slows you down |
| Zone AF / Dynamic Area | Uses a cluster of points; camera follows subject within the zone | Unpredictable player movement; when subject might leave your single point | Can jump to background if subject briefly leaves zone |
| Manual Focus with Peaking | Photographer manually turns focus ring; camera highlights in-focus edges | Extreme low light where AF fails; prefocusing on a spot (goal line, sideline) | Nearly impossible for tracking fast action; requires exceptional anticipation |
Now, let’s talk about the flash in the stadium. Flash is tempting when it gets dark. But using TTL automated flash during continuous shooting is like a bureaucratic delay. The camera and flash need to consult each other, slowing your shots and confusing your AF system.
The solution is to go manual. Set your flash power manually based on your distance to the action. It’s simple, predictable, and keeps your frame rate high. Your AF won’t get confused by the flash’s process. For sharp shots in tough light, sometimes the oldest methods are the best. Check out this guide for more tips.
Your autofocus system in low light isn’t broken. It’s just overwhelmed. By giving it a clear task (track with thumb) and removing conflicting signals (TTL pre-flash), you make it confident again. The difference in your Night Games photos will be huge. They’ll show you were there, not just watching.
Choosing ISO/NR Strategies
Dealing with ISO during night games is like a tricky negotiation. You’re trading noise for clean shadows. It’s a choice between grainy images and frozen action.
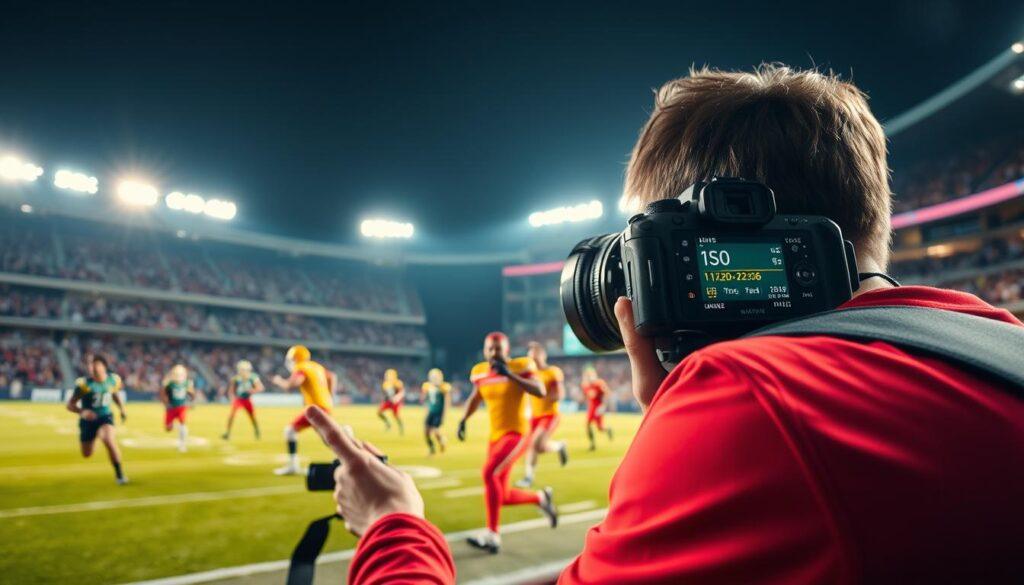
Starting with a full-frame camera at ISO 6400 is like being the financial elite. It handles low light well, with a fine grain that’s almost artistic. Think of it as the patina on a vintage leather jacket.
An older crop-sensor body at the same ISO is like a scrappy startup founder. It gets the job done with hustle, but the images show more creative accounting. The artifacts are louder and more colorful, but it’s a different style.
For freezing action under Friday night lights, you often go to ISO 3200, 6400, or beyond. This is non-negotiable physics. Your camera gear selection is key before stepping onto the field.
The Auto ISO Gambit
Auto ISO is your quick-thinking negotiator in stadium light. It adjusts fast to light changes. Set limits: a minimum shutter speed and a maximum ISO you can handle.
This automated approach is key for night games with variable light. Trust your tools, not fight them, in action photography in bad light.
The Post-Processing Peace Treaty
The real work happens in Lightroom or Capture One. This is where your Noise Reduction (NR) strategy shows your skill.
- Luminance NR: This tackles grainy looks. Too much, and your athlete looks fake. Too little, and it looks digitally distressed.
- Color NR: This kills red, green, and blue speckles. Be aggressive here. Chromatic noise serves no artistic purpose.
- Detail Preservation: Every NR slider has a detail or sharpening slider. This is the fine print of the treaty. It helps retain edge definition that noise reduction tries to blur.
I overexpose by about +1/3 stop in camera. It’s easier to recover highlights than to bring back detail from shadows. You’re protecting your shadow data—the most vulnerable territory in a night game.
The final analysis: noise is not your enemy. It’s a stylistic choice. Your goal is management. Control the grain to add drama to your images, not to hide technical failures. That’s how you win the ISO war.
Sample Settings by Lens and Body Tier
Forget brand wars; the real battle in night games photography is fought along economic lines. Your camera bag tells a story of compromise before you even press the shutter. Let’s break down the sideline cast of characters.
The Budget-Conscious Pragmatist operates with crop-sensor realism. Think Nikon D5600 or Canon Rebel T8i paired with a 70-200mm f/2.8 lens—often a savvy used purchase. This is the photographic hatchback: reliable, practical, but straining at high speeds.
Your settings become a hopeful equation: 1/640s, f/2.8, Auto ISO (capped at 6400). You’ll freeze basic action but chase blur on fast breaks. Noise lurks in the shadows. Yet, you’re capturing the game. That’s a win.
The Enthuasiast Investor upgrades to full-frame confidence. A Nikon D780 or Canon EOS R6 changes the light-gathering math. Paired with that same 70-200mm f/2.8, it’s the sports sedan setup—smooth, capable, and satisfying.
Here, settings gain authority: 1/1000s, f/2.8, ISO 3200. Noise is managed, motion is crisply frozen. The investment pays off in consistent, publishable shots throughout the game.
Then there’s the Optical Hedonist. This photographer invests in glass, not just bodies. An 85mm f/1.4 or 135mm f/1.4 prime lens is their light cannon. It’s the motorcycle of setups—pure, focused, and thrillingly risky.
Settings embrace the extreme: 1/1250s, f/1.4, ISO 1600. Backgrounds melt into beautiful bokeh. But the depth of field is razor-thin. A player leaning forward can have a sharp nose and soft eyes. It’s artistic gambling.
| Tier | Typical Setup | Go-To Settings for Night Games | The Trade-Off |
|---|---|---|---|
| Budget-Conscious Pragmatist | Nikon D5600 (Crop) + 70-200mm f/2.8 | 1/640s, f/2.8, ISO 6400 | Maximum value, but fights noise and motion blur |
| Enthuasiast Investor | Canon EOS R6 (Full-Frame) + 70-200mm f/2.8 | 1/1000s, f/2.8, ISO 3200 | Balance of quality and flexibility; the workhorse |
| Optical Hedonist | Any Body + 85mm f/1.4 Prime | 1/1250s, f/1.4, ISO 1600 | Stunning light & bokeh vs. no zoom and tiny focus plane |
Look at that sample EXIF data—1/800, f/1.4, ISO 1600. It’s not just metadata. It’s a story. It says, “I prioritized isolating my subject over zoom flexibility, and I accepted a focus challenge.” Your settings are your strategy document.
This tiered approach removes fanboy bias. It’s about light, physics, and budget. Whether you’re shooting with a Canon 7D Mark II at 9 fps or a flagship Nikon D5, the principles of exposure trade-offs remain. For more foundational sports photography tips, the basics always apply.
Choose your tier honestly. Own your settings confidently. The best camera for night games is the one that gets you on the sideline, making calculated compromises under the lights.
Sideline Etiquette
The sidelines at high school night games are a small, intense republic with its own rules. Your pro-looking camera is your ticket, but it doesn’t mean you can do anything. You’re a guest in a world filled with coaches, officials, and teenage energy.
Access has levels. Regular season games are often open to everyone. But playoff night games are different. They’re governed by leagues like the NFHS. To sell your photos, you might need credentials from a local paper or blog.
Always be nice to the gate staff. They have the power to let you take photos.
Flash is more than just lighting. Using a gridded, on-axis flash is smart. It helps avoid complaints from coaches about your “distracting pop-pop-pop” during important games.
Your movement is key. Stay low and move with the players. Never cross the field’s white boundary. You’re there to capture the drama, not become part of it. The best accessory is knowing when to move.
Getting kicked out is a bad end to your photo career. Knowing the unspoken rules lets you keep coming back. You get to capture the magic of Friday night games week after week.