

In our digital age, waiting for the perfect shot might seem old-fashioned. Why not just take lots of pictures and hope for the best? It’s like throwing spaghetti at the wall.
But, true burst mode is more than just taking lots of pictures. It’s about timing perfectly. It’s like a jazz musician’s riff, exploring the theme of the decisive moment quickly.
This isn’t about taking random pictures. It’s about catching the perfect moment. Like the peak of a jump or a split-second of joy. With your camera’s fast shots, you can bracket that moment. This way, you’ll know you got the shot.
We’ll show how to use your camera’s fps rate wisely. It’s not just about taking lots of pictures. It’s about knowing when to use continuous shooting for moving subjects. And how to avoid letting the buffer ruin your photos. Whether it’s kids or athletes, the key is to anticipate and then shoot.
By understanding your subject’s rhythm, you turn high fps into a tool. It’s the difference between chaos and a story, one frame at a time. For tips on capturing fast-paced moments, check out sports photography settings.
Buffer Management and Card Choices
Buffer management is not just about specs. It’s about how your camera’s memory works with your storage. It’s like a political dance where your camera’s processor is the leader and the buffer is the helper.
When your camera takes too many pictures too fast, the buffer gets overwhelmed. This is like the buffer’s stamina. It’s how long it can keep up with your camera’s work.
The buffer is like a temporary memory bank. It helps prevent a traffic jam in your camera’s data flow. Your camera’s sensor makes data fast, but even the fastest card needs time to write it down.
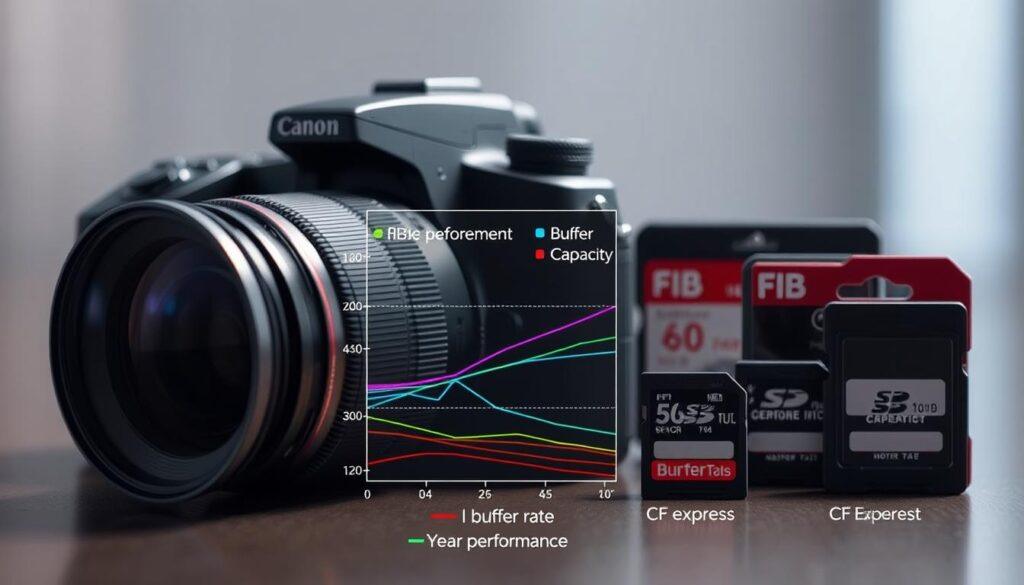
Many photographers blame their camera when it’s really the card’s fault. Using a slow card with a professional camera is like hiring a slow scribe. The data needs to go somewhere, and if the pipeline is slow, everything backs up.
Here are the main culprits that reduce your buffer’s effectiveness:
- RAW files: These are detailed, uncompressed photos. They fill the buffer quickly.
- JPG+RAW: This is like writing two versions of every photo at once.
- Slow cards: The “up to” speed is often for ideal conditions. Real sustained speed is what matters.
Choosing the right gear is intellectual, not emotional. It’s about consistent performance under pressure. Cards like the OWC Atlas Pro and Ultra series are made for this. They keep up with your camera’s demands, even when it’s hot.
| Card Type | Sustained Write Speed | Best For | Buffer Impact |
|---|---|---|---|
| CFexpress Type B | 1,400+ MB/s | High-resolution video, fastest burst | Minimal bottleneck, rapid clearing |
| V90 SD Card | 250+ MB/s | Pro photography, 4K video | Reliable for most bursts |
| V60 SD Card | 120+ MB/s | Enthuasiast photography | May limit RAW burst depth |
| Standard UHS-I | Up to 95 MB/s | Casual shooting | Significant buffer limitations |
The link between buffer depth and card performance is strong. A slightly faster card can clear your buffer much quicker. This is key for photographers who need to capture every moment.
Remember, computer architecture principles apply here too. The buffer is like a queue, and the write speed determines how fast items leave. If the arrival rate is too high, you get buffer overflow.
To manage this, know your camera’s buffer capacity. Invest in cards with proven sustained write speeds. Consider shooting JPG-only for fast sequences. And remember, your buffer depth is a balance between your camera and storage choices.
The smart photographer doesn’t just buy the fastest card. They match their storage to their style. Whether you’re shooting fast protests or slow landscapes, your strategy should match your goals.
Electronic vs. Mechanical Shutter Pros/Cons
In the camera’s heart, two shutters compete: one physical, one digital. Each has its own strengths and weaknesses. Your choice affects how you see the world through the viewfinder.
The mechanical shutter is like a physical curtain that opens and closes. It’s satisfying to use, like flipping a light switch. But, it has a flaw: blackout. When it opens, your viewfinder goes dark for a moment.
In burst mode, this blackout is like blinking at a key moment. You miss important details. It’s a trade-off for capturing what’s real at that exact moment.
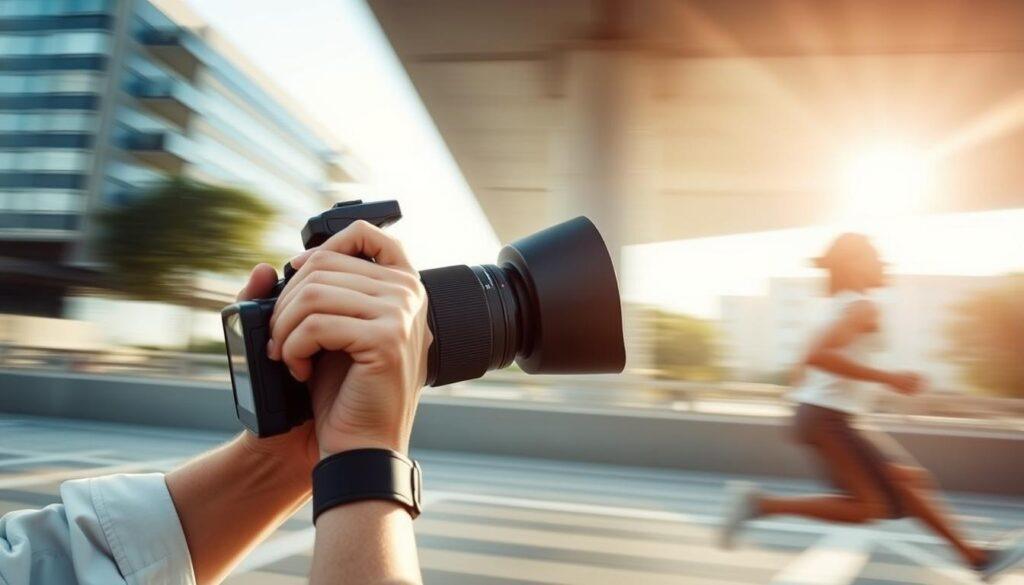
The electronic shutter works differently. It reads the sensor line by line, silently. There’s no blackout—your viewfinder stays bright. You can see everything clearly. But, there’s a catch.
The catch is rolling shutter distortion. Fast movements appear distorted. Straight lines wobble. Reality looks warped.
So, which is better? The mechanical shutter gives you truth in time but has a blind spot. The electronic shutter offers constant vision but distorts fast movements. Your choice depends on what you’re shooting.
It’s a trade-off between seeing everything and capturing one moment perfectly. This choice is not just technical. It’s about how you want to see time through photography.
The silent electronic shutter is great for quiet events where the clunk would be a distraction. The mechanical shutter is best for fast action where things need to stay straight. Your shooting situation decides the best choice.
Drills to Improve Timing
You’ve learned about burst rates and buffer depths. Now, it’s time to put it into practice. Think of your camera as a musical instrument. Knowing the notes is not enough to play the song.
Start by setting your Canon R5 or Sony A7 IV on a tripod. Pre-focus on a spot. Then, have a friend jump. Hold the shutter for a full burst. Review the footage to see what you missed.
Next, create a GIF for science, not social media. Capture a three-second burst of a skateboarder’s ollie or a barista’s pour. String the frames together. This drill helps you see the story in your burst & buffer.
The final drill is tough: bankrupt your buffer. Go to a park and find a basketball game. Set your Nikon Z9 to its highest burst rate and track the action. Keep shooting until the camera stutters. This drill teaches you the limits of your gear.
These exercises turn you from a spectator to a director. For more insight, study how pros frame decisive moments in sports. It’s about predicting where the action will be, not where it is. Master these drills to improve your timing and use your burst & buffer with precision.